
Introduction
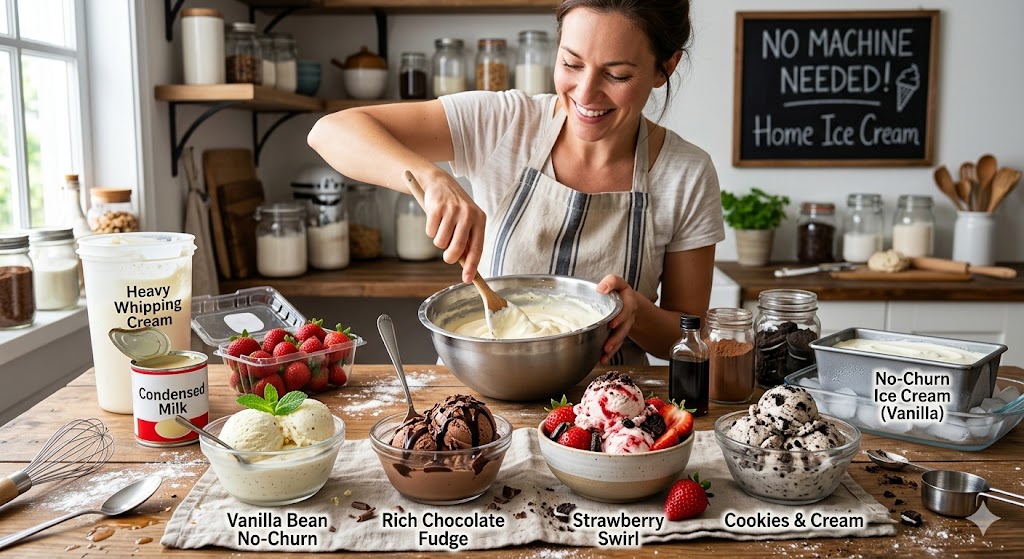
Ice Cream Recipes at Home – No Machine Needed, It is so gratifying to put your spoon into a dish of ice-cream which you have made. The good news? All you require to do is pull it off is a fancy equipment. Having a few simple ingredients and a bit of time, you can prepare recipes to create ice creams at home, without a machine required and it will be just as good as any one that can be bought in the stores. Ice cream can be made in the comfort of your home and you can have it in traditional vanilla, in a rich chocolate or in an obligating mango. This book will take you through all that you require to know in order to start off well in your own kitchen.
The reason why Homemade Ice Cream is worth the efforts.
It is a lot more cost-effective to make ice cream by yourself and have the ability to control the ingredients of your treat. You choose the ingredients, what level of sweetness and what combination of flavors. It does not contain any artificial preservatives, any mystery ingredients or fillers that are unnecessary.
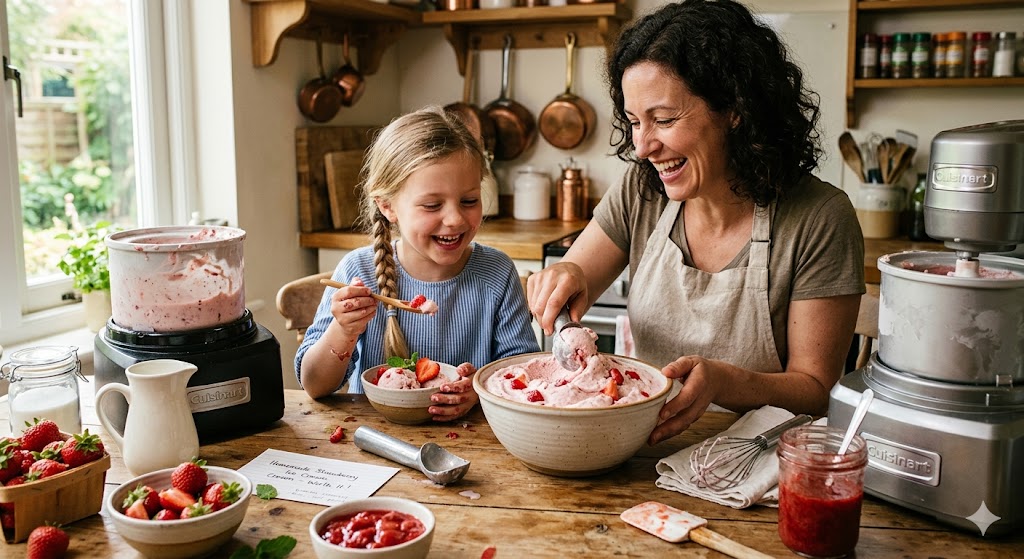
It is a family fun activity as well. Children enjoy participating in the preparation and topping the mixing and selecting. Besides, home made ice cream is half the price of the high end brands that are available in the supermarket. As soon as you taste it, you will think why not to begin to do it earlier.
The other huge benefit is that you can readily make recipes to dietary requirements. Having one lactose intolerant, vegan or sugar conscious person in your home, you can modify any of your recipes to fit like a glove.
Popular No-Machine Ice Cream Methods at a Glance
Not all no-churn methods are the same. Some are simpler, while others give you a denser, creamier texture. Here’s a quick comparison of the most popular techniques people use at home.
| Method | Key Ingredients | Best For |
|---|---|---|
| Whipped Cream Method | Heavy cream, condensed milk | Rich, creamy classic flavors |
| Banana-Based (Nice Cream) | Frozen bananas, milk or yogurt | Dairy-free and healthy options |
| Bag Method | Milk, sugar, ice, salt, zip bags | Fun activity with kids |
| Condensed Milk & Fruit | Condensed milk, fresh fruit, cream | Tropical and fruity flavors |
| Yogurt-Based Frozen Treat | Greek yogurt, honey, fruit | Light and protein-rich desserts |
Each method has its own charm. If you want something indulgent, go with the whipped cream method. If you’re health-conscious, banana-based nice cream is a winner. The bag method is perfect for a weekend project with the little ones.
Hands-on Advice on how to make Ice Cream without a Machine.
Previously cool your bowl and utensils. Cold gadgets aid the mixture to become more even and quicker to freeze. Prep: Have your mixing bowl in the refrigerator about 20 minutes prior to beginning.
Beat cream until it becomes stiff. This is one of the important steps of the no-churn technique. The under-whipping results in grainy ice cream which is icy. When over-whipped it becomes butter. Strive to strong heights which keep their posture as you raise the whisk.
When freezing, mix the mixture after every 30 -45 minutes. When you merely put it in the freezer and leave it it will come out a solid block. When the ice is stirred its crystals are broken and the scoopable smoothness that everyone adores is achieved.
The advantages of No-Churn Ice Cream Recipes.

Simplicity. Majority of recipes have a number of two or four ingredients. You do not have to acquire training in culinary schools. You can make ice cream by stirring it, and freezing it.
Endless flavor options. Vanilla extract, cocoa powder, peanut butter, crushed cookies, fresh berries, matcha powder – the list of flavors, in which the final choices are practically unlimited. You will be able to experiment each weekend and not to repeat one and the same recipe.
Healthier choices. You can make it yourself, and use natural sweetener such as honey or maple syrup. You can cut down on sugar, eliminate artificial colors and can include healthy foods such as nuts or seeds.
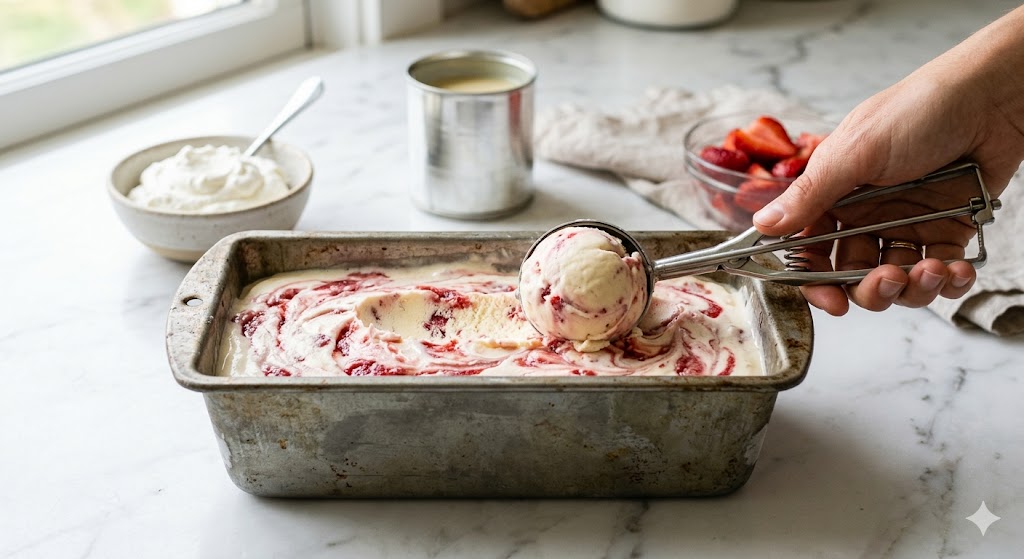
Need not be stored in any special way. Your completed ice cream is stored in any freezer safe place. A plain loaf pan, lined with plastic wrap is quite alright.
Some of the most prevalent errors to be made when home making ice cream.
Not freezing sufficiently. Patience matters. The majority of recipes with no churn require 6 to eight hours in the freezer. Even better is over night. In a hurry with this will leave you with a soup.
Use of excessive liquid taste. A splash of vanilla will be sufficient, but dumping in a lot of fruit juice or liquid extract, will upset the balance. This results in a lot of ice crystals and rough and nasty texture.
Using low-quality ingredients. You can get cheap cocoa powder or artificial vanilla but you will not get the same results as using the real cocoa powder or vanilla. Each item is important since the list of ingredients is so short.
Overfilling the container. Allow a half an inch at the top. During the freezing process, ice cream grows to some extent and a tightly packed container can either force the lid off, or lead to freezing of uneven sizes.
Professionally, these are the tips that can be used to make your homemade ice cream.
Feel like you can take your ice cream recipes at home- no machine required to the next level? These tips are at expert level, and will make anyone who bites get impressed.
Add mix-ins, at the right time. Chocolate chips, pieces of cookies or nuts should be added in the final stir before the final freeze. It is essential to add them late in order to have them settle on the bottom.
Evenly freeze using a loaf pan. The mixture can freeze more evenly in a loaf pan than in a deep round bowl due to the rectangular shape that is shallow and allows the mixture to be evenly frozen.
Allow to cool and then serve. Take your ice cream out of freezer some five or ten minutes prior to scooping. This is easier to serve, and is better on your tongue.
Try layering flavors. Add one of the flavors to the container, freeze it after an hour and then add a second flavor on top. This produces lovely strata of ice cream which appear and taste gorgeous.
Frequently Asked Questions
Q1: What is the maximum time of homemade no-churn ice cream in the freezer?
It can be kept fresh between two-three weeks in an airtight container. Then, there can be a formation of ice crystals on the surface and it influences the texture.
Q2: Will no-machine ice cream be made with no heavy cream?
Yes! Coconut cream is a great alternative to a dairy-free alternative. Frozen bananas blended till smooth can also be used in place of frozen bananas.
Q3: Why has my home made ice-cream been too icy?
This normally occurs in the event that there is a lack of fat in the mixture or in the event of slow freezing. Always use full-fat cream and make sure that your freezer is at a chilly enough temperature – preferably about 0 o C (-18 C).
Conclusion
One of the easiest joys in the kitchen is to make recipes at home, no machine required to create ice cream. All you need is some few ingredients, and some few hours of the freezer time and you can make desserts that can compete with your favorite shop. The most amazing thing is that you are free to experiment with it- experiment with flavors, add or take away the sweetness or make it healthier and yet it still tastes amazing. It is either you are preparing by yourself or you make it a family affair, homemade ice-cream will put a smile on every one’s face. To make your next frozen masterpiece, grab a mixing bowl, choose a flavor and begin to make one today.